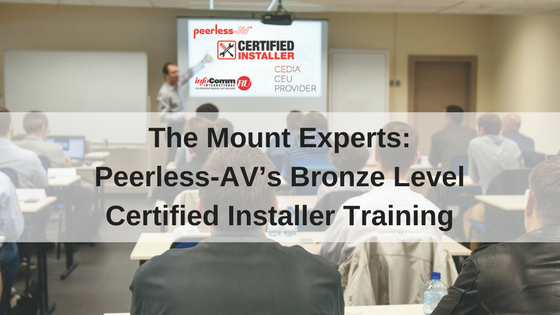
As the creator of the world’s first TV mount, our team at Peerless-AV knows a thing or two about installing wall and ceiling mounts. We even offer a Certified Installer Training Program to help system integrators and installers become certified in the process.
We regularly host webinars on the topic and will be leading a Manufacturer Product Training at this year’s CEDIA EXPO focusing on the first step – the Bronze Level.
In the Bronze Level, we cover the basics of installing different types of mounts on various surfaces. For those of you interested in learning more, check out our brief recap below.
Why Use Mounts?
To start, we look at why we need mounting solutions. First and foremost – SAFETY. Unsecured displays can lead to significant injury should they tip or fall. When children are involved, unmounted displays can even turn deadly. By using mounts, displays are more secure and the risk of injury is significantly lessened.
Types of Mounts
So we know why we need mounts, but what type of mount do we use? It is really dependent on the application.
For TV displays, consider:
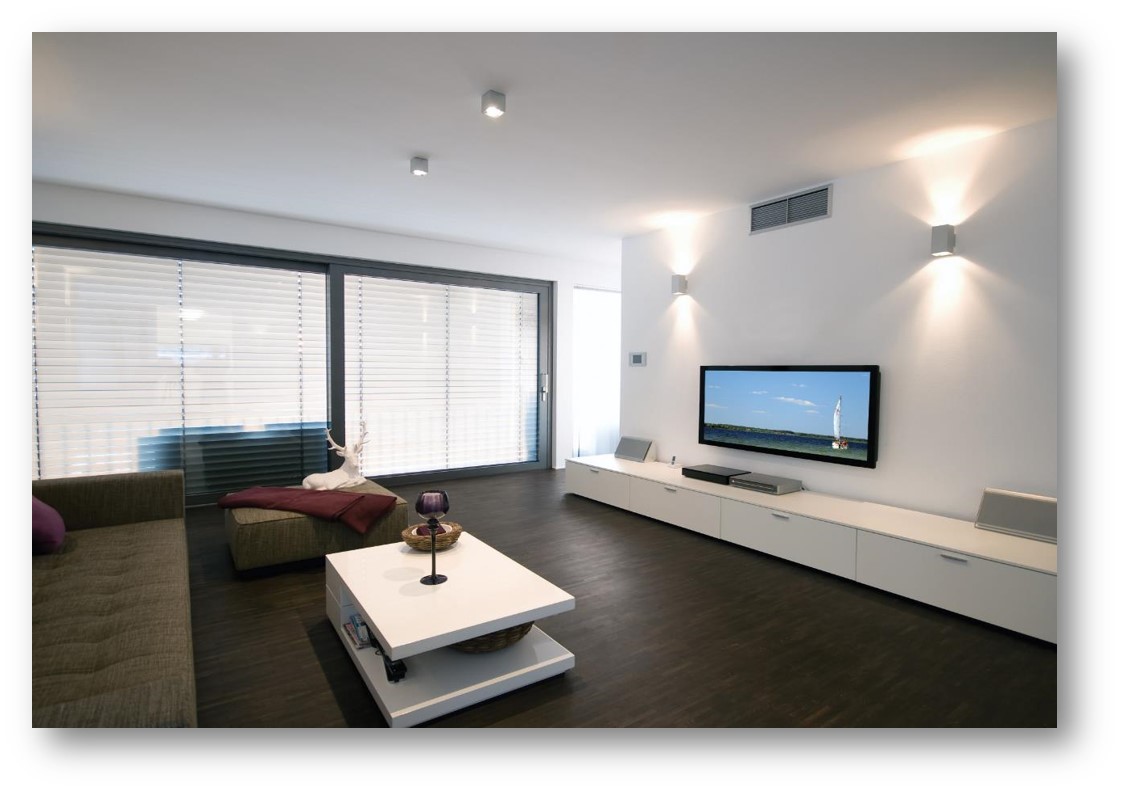
Flat Wall Mounts
- Sleek and appealing, these mounts place displays close to the wall and are often the simplest mounting solution
- See the SF650P
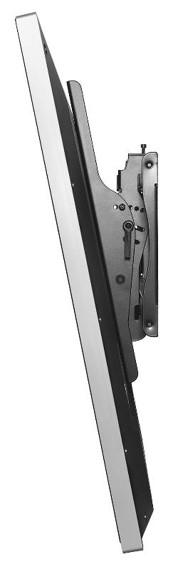
Tilt Wall Mounts
- These mounts reduce on-screen glare, create optimal line of sight, and provide easy access to the back of the display
- See the ST660P
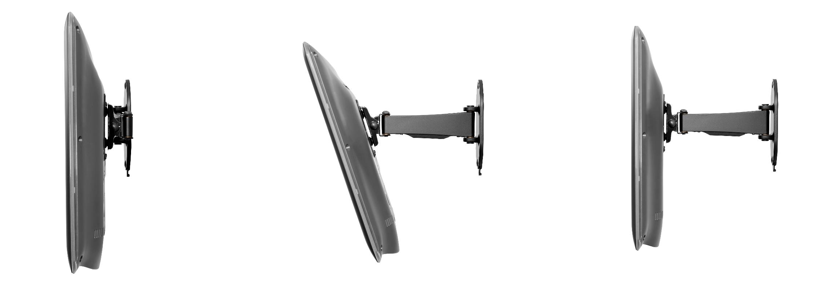
Pivot Wall Mounts
- Pivot mounts achieve the sleek look of being close to the wall while also allowing for side-to-side swivel and up-and-down tilt for multiple viewing angles, combining function and appeal
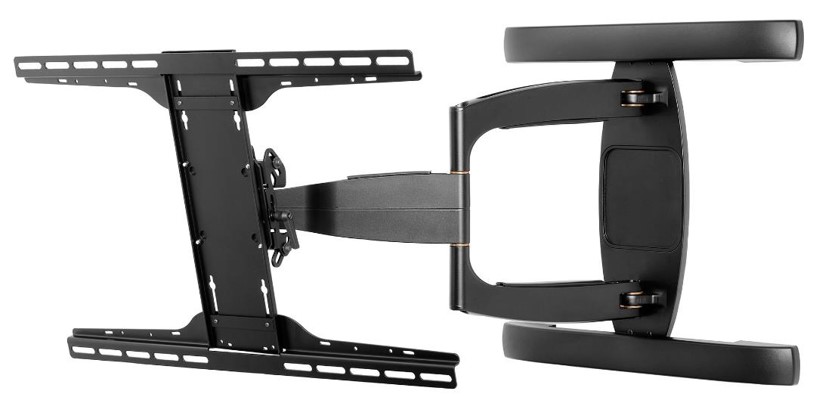
Articulating Wall Mounts
- These mounts can extend displays far from the wall and allow for near limitless TV positions, ideal for spaces with multiple viewing angles
- See the SA761PU
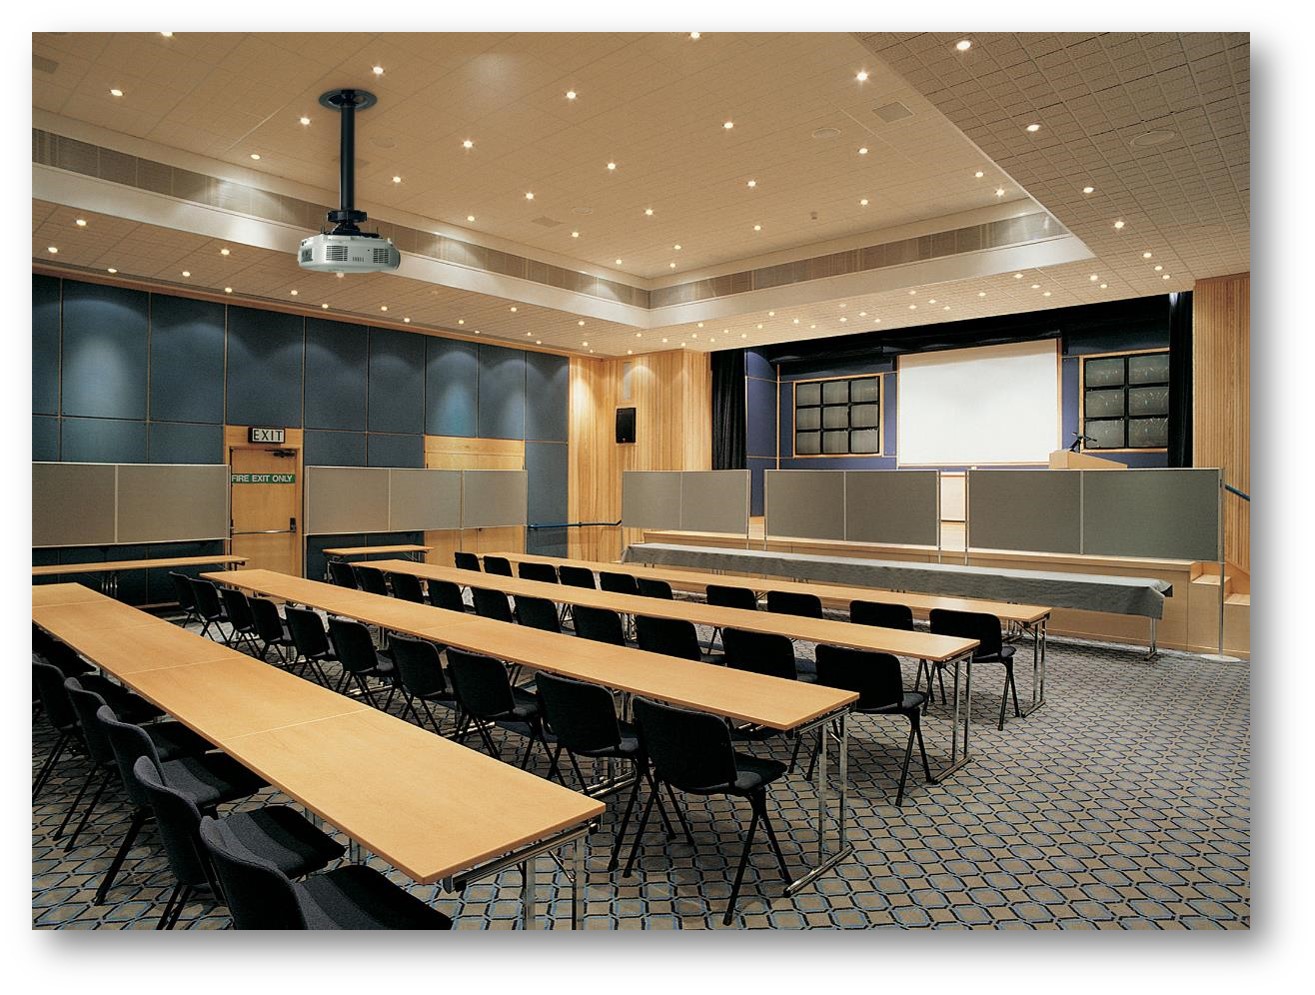
For projectors, consider:
Projector Mounts
- Possessing knobs for fine tuning placement, projector mounts possess a universal adaptor plate fitting a wide variety of projectors and offer a quick release feature
- See the PRG-UNV-W
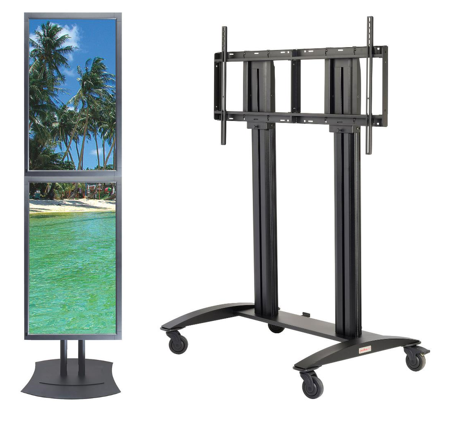
For mobile solutions, Display Carts and Stands are often the ideal option. Stands are a sleek alternative to display mounts and can offer the added convenience of shelves or media storage. Carts and stands offer a mobile option for businesses and schools who may need to move displays from one place to another.
Pre-Install Basics
Before beginning installation, it’s important to consider a few key factors. The type of display you want to use will determine the make and model of the appropriate mount. From there, your options will be further narrowed by the ideal mounting type and the specific mounting surface. In addition, the orientation of the display may also require certain mounts or placements.
Peerless-AV’s online MountFinder™ can come in handy when searching for the correct mount make and model.
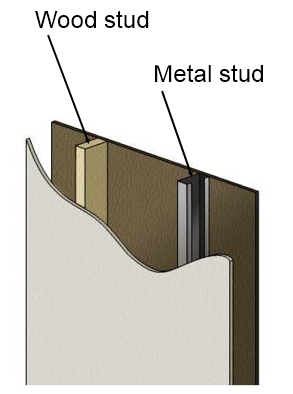
Types of Surfaces
Different types of surfaces will require different approaches when installing. When working with wood or metal stud walls, be sure to line up the mounts with the studs to ensure a secure anchor.
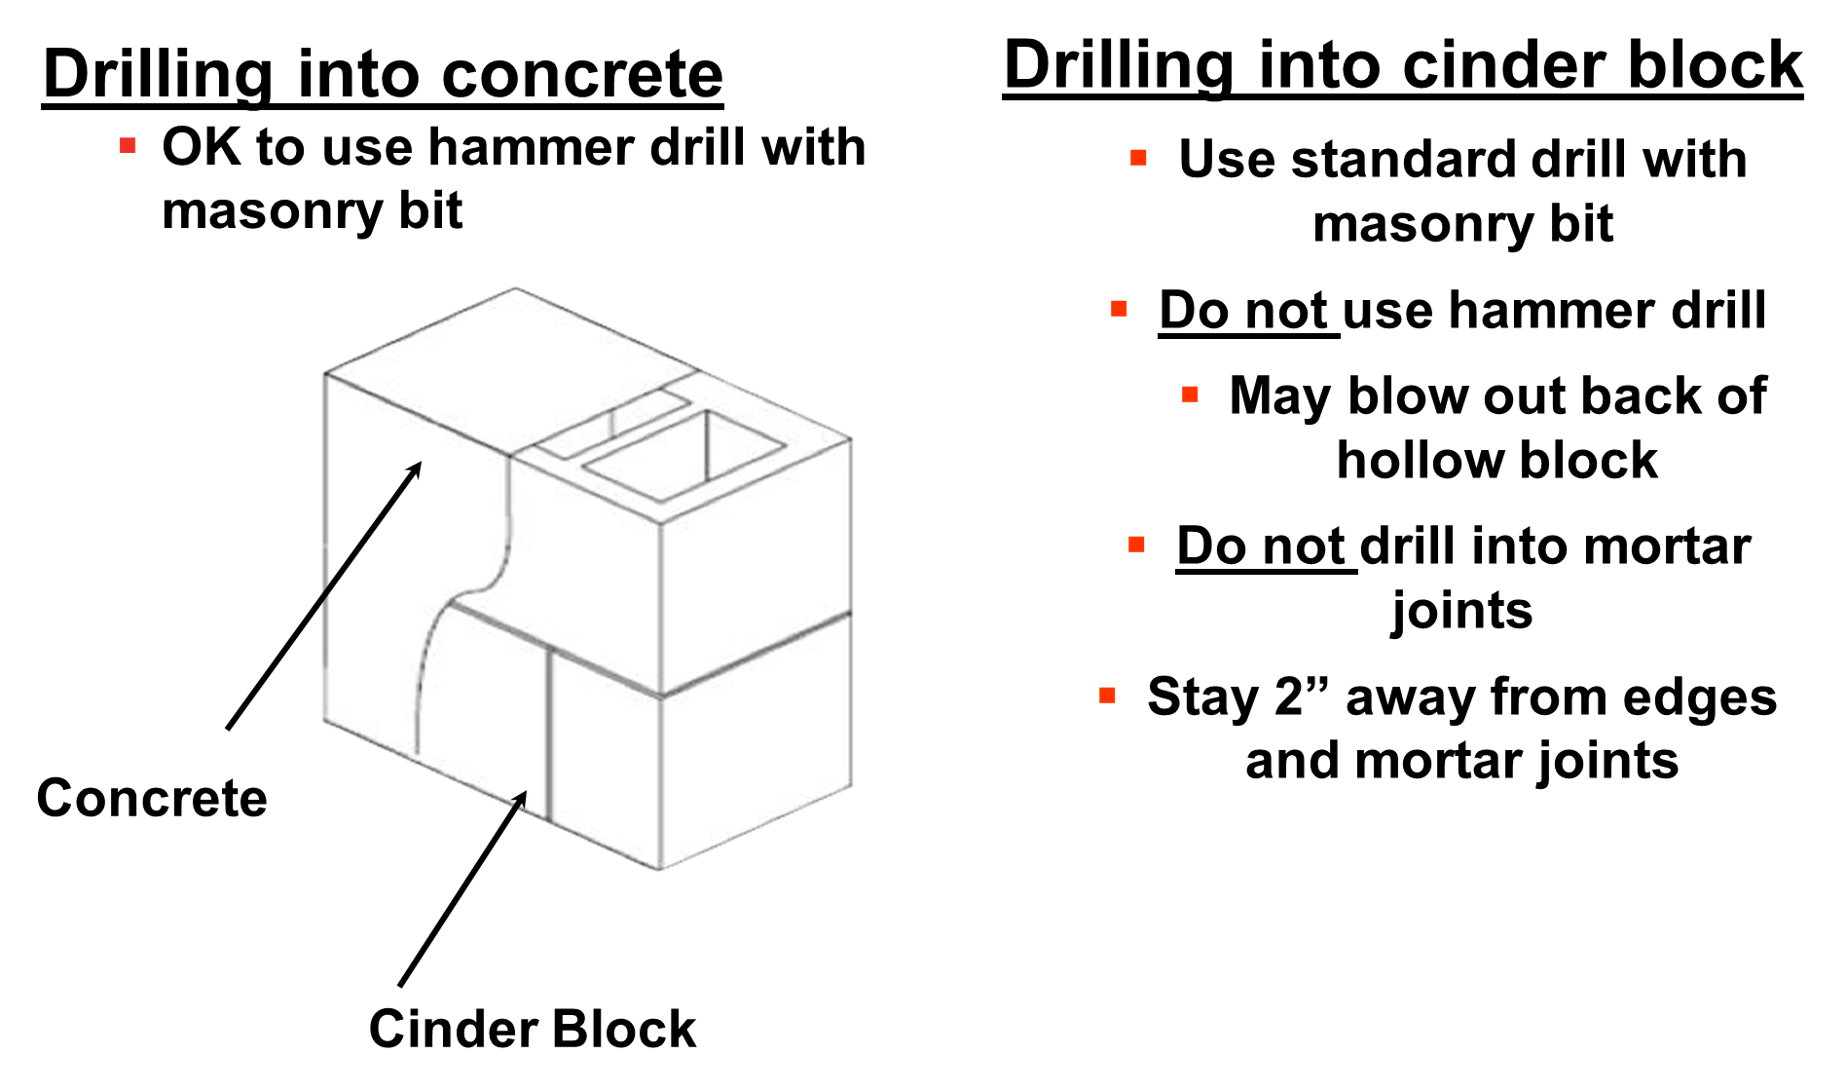
Meanwhile, different types of drill bits are needed for concrete or cinder block walls. In addition, take extra care when drilling into cinder block walls to avoid blowing out the back of the hollow blocks or drilling into the mortar joints.
Determining Placement and Installation
There are four factors to consider when determining the perfect placement for a mount:
- Display Orientation
- Display Size
- Location of the Power Source
- Supplying Content
If the display needs to be vertical, clearly you want to avoid a space where it would only fit horizontally. The size of the display will determine how much space there should be in between it and those viewing it.

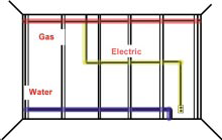
As a precaution, always locate any utility, gas, electric, or water lines running through the wall before drilling any holes. In addition, never mount on a free-standing wall, partition, or room divider.
Follow all applicable safety guidelines while installing mounts, including wearing protective eyewear, close-toed shoes, ear protection when drilling, and hard hats when in active construction areas.
All installation processes can be found in the instruction manuals provided with each mount. Be sure all mounts are level and all screws are the correct length and type. Extension columns are also available for projectors and displays which need added reach.
For further installation explanation, check out our recent Bronze Level Certified Installer Training webinar. Sign-up and view the on-demand recording today.